Ultimate Guide to Installing Split Face Travertine for Stunning Outdoor Spaces
- 10 Haz
- 3 dakikada okunur
Creating a beautiful outdoor space often means choosing the right materials that combine durability with aesthetic appeal. Split face travertine offers a unique textured look that enhances exterior walls, pools, and water features. This guide walks you through everything you need to know about installing split face travertine, including preparation, installation techniques, sealing, and maintenance tips to ensure your outdoor project stands the test of time.

What Is Split Face Travertine and Why Use It Outdoors
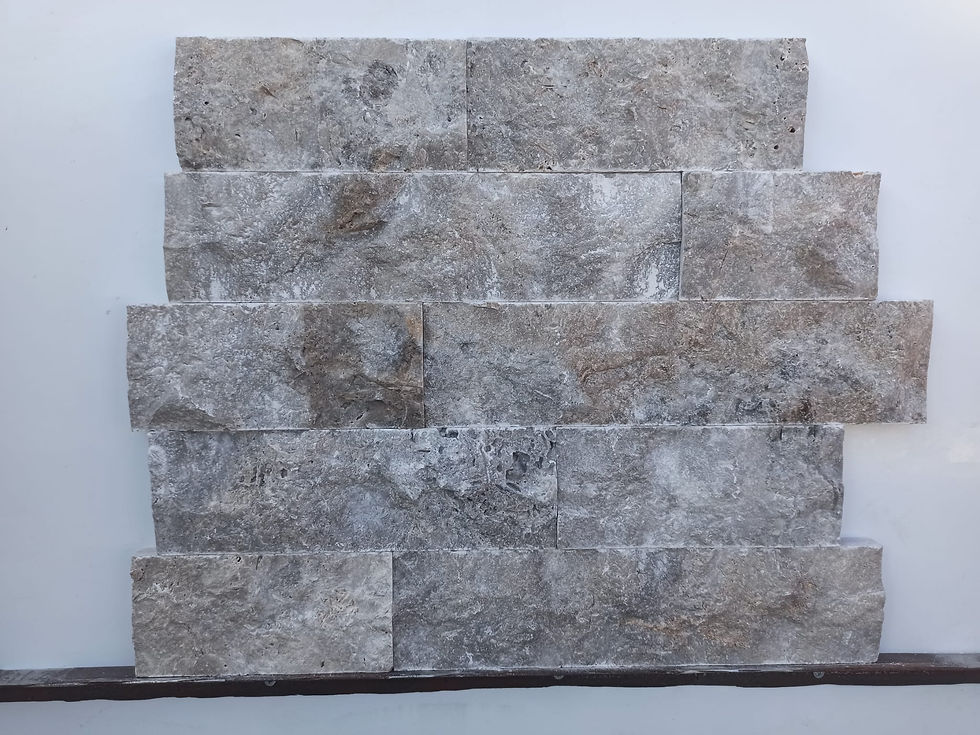
Split face travertine is a natural stone with a rough, textured surface created by splitting the stone rather than polishing it smooth. This texture adds depth and character to outdoor walls and features. Travertine itself is a form of limestone, known for its durability and natural beauty.
Benefits of Split Face Travertine for Exterior Walls
Durability: Travertine withstands weather changes, making it suitable for outdoor use.
Natural Insulation: It helps regulate temperature on exterior walls.
Aesthetic Appeal: The rough texture adds a rustic, elegant look.
Versatility: Works well on walls, around pools, and water features.
Is Split Face Travertine Suitable for Outdoors?
Yes, split face travertine is highly suitable for outdoor applications. Its porous nature requires sealing to protect against moisture and stains, but once sealed, it performs well in various climates. It resists heat and cold, making it ideal for exterior walls and pool surrounds.
Preparing for Split Face Travertine Installation
Proper preparation ensures a successful installation that lasts.
Tools and Materials Needed
Split face travertine tiles or panels
Stone adhesive (thin-set mortar recommended for stone)
Notched trowel
Grout (if needed)
Sealer for travertine
Tile spacers
Level and measuring tape
Rubber mallet
Sponge and bucket for cleaning
Surface Preparation
Clean the wall or surface thoroughly to remove dust, dirt, and loose particles.
Ensure the surface is flat, stable, and dry.
For porous or uneven surfaces, apply a primer or bonding agent to improve adhesion.
Step-by-Step Guide to Installing Split Face Travertine Cladding
1. Plan Your Layout
Measure the area and plan the layout to minimize cuts and ensure a balanced look. Dry lay the stones on the ground to visualize the pattern.
2. Apply Stone Adhesive
Use a high-quality stone adhesive suitable for split face travertine. Spread the adhesive evenly with a notched trowel on a small section of the wall.
3. Install the Travertine
Press each stone firmly into the adhesive, starting from the bottom and working upward. Use a rubber mallet to tap stones gently into place for a secure fit.
4. Maintain Consistent Spacing
Use tile spacers to keep even gaps between stones if grout lines are desired. For a more natural look, stones can be installed tightly without spacers.
5. Cut Stones as Needed
Use a wet saw with a diamond blade to cut stones for edges and corners.
6. Allow Adhesive to Cure
Let the adhesive dry according to the manufacturer’s instructions, usually 24 to 48 hours.
Sealing Split Face Travertine for Outdoor Use
Sealing is essential to protect travertine from moisture, stains, and weather damage.
How to Seal Split Face Travertine
Choose a penetrating sealer designed for natural stone.
Clean the stone surface thoroughly before sealing.
Apply the sealer evenly with a brush or roller.
Allow the sealer to penetrate and dry completely.
Apply a second coat if recommended.
Sealing should be repeated every 1 to 2 years depending on exposure and wear.
Using Split Face Cladding Around Pools and Water Features
Split face travertine adds a natural, elegant look to pools and water features but requires special attention.
Considerations for Pool Areas
Use slip-resistant finishes or textured stones to prevent slipping.
Ensure the adhesive and grout are waterproof and suitable for wet environments.
Seal the stone thoroughly to prevent water absorption and damage.
Installation Tips for Water Features
Plan for water drainage to avoid pooling behind the stone.
Use flexible adhesives to accommodate slight movements caused by water pressure or temperature changes.
Regularly inspect and reseal to maintain protection.
Maintenance Tips for Long-Lasting Split Face Travertine
Clean regularly with mild soap and water; avoid harsh chemicals.
Remove stains promptly to prevent permanent marks.
Inspect grout and adhesive joints for cracks or damage.
Reapply sealer as needed to maintain protection.
Common Mistakes to Avoid During Installation
Skipping surface preparation, leading to poor adhesion.
Using the wrong adhesive not designed for natural stone.
Neglecting sealing, which causes staining and weather damage.
Ignoring expansion joints on large surfaces, which can cause cracking.